1) Preparing for the Upgrade
QlikView upgrade is a straightforward procedure and most of the time we will spend on preparing for it instead executing the actual upgrade. A good backup plan and verification / testing strategy would help mitigate any unexpected complications, such as documents no longer behaving as expected or data loss
1a. Review the Documentation, Release Notes, and System Requirements
The Qlik Online portal Help provides an overview of What’s New in each of Qlik’s major releases and the Release notes contain information crucial for understanding specific requirements or considerations for the chosen version. Up-to-date System Requirements can be found on our Help Site.
1b. Testing
Deploying a development or testing environments will allow for user acceptance tests before moving ahead with a production upgrade.
Verify that documents designed in earlier versions still behave as expected
If any custom solutions were built using API (Application Programming Interface) calls, verify their functionality. We need to test any 3rd party integrations such as single sign-on portals or reverse proxy implementations and any object/document extensions
1c. License and Maintenance
Ensure that we have a valid QlikView maintenance contract before upgrading the QlikView Server installation. Trying to upgrade without a valid maintenance contract will result in limited functionality of QlikView Server.
1d. Back up the environment
The following is a list of directories & files used by QlikView and these should be backed up before the upgrade.
The C:\ProgramData\QlikTech directory
The QlikView Publisher Repository (QVPR)
Setting files (.ini and .xml files)
QlikView operational files (Persistent Group Object – .pgo files)
QlikView documents (.qvw, .qvd)
.shared and .tshared files
Log files
2) Installing and Upgrading the QlikView Server(s)
When performing an upgrade, ensure that the entire environment is upgraded. This includes:
The QlikView Server services across all deployed nodes See the instructions in this document for details.
QlikView Desktop Clients Distribute the installation package to your users based on your local IT (Information Technology) practices
QlikView Internet Explorer Plugins If possible, upgrade the plugin before the server as to prevent service crashes caused by outdated clients accessing it. Distribute the installation package to your users based on your local IT.
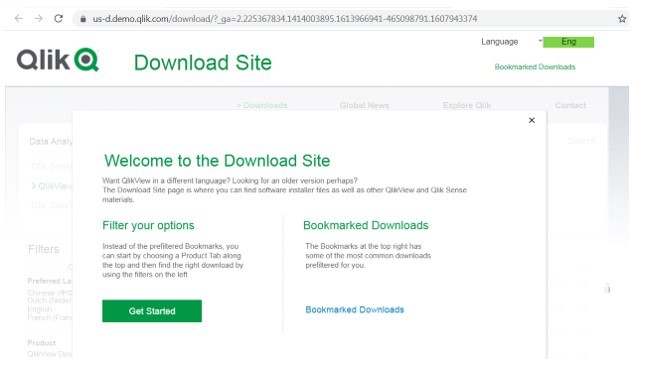
2a. Find the following screenshots to Download the QlikView Installation package.
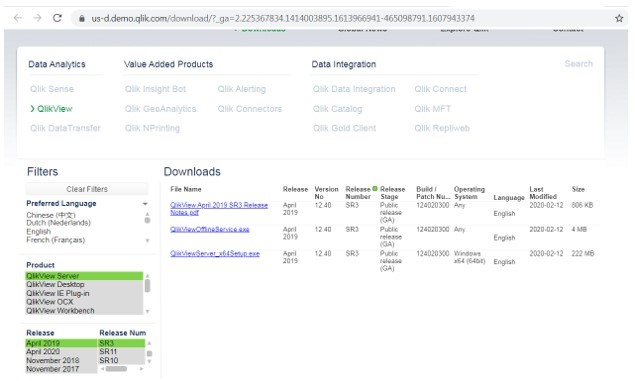
2b. Installing the upgrade
-
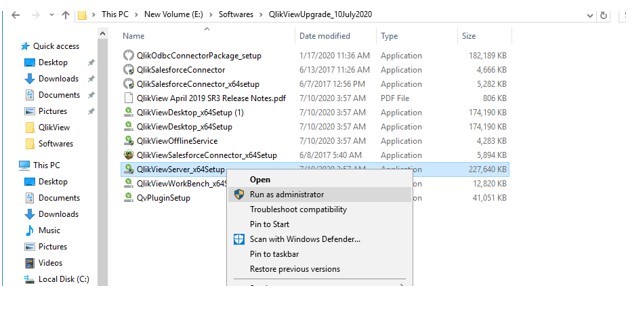
- Right-click the item i.e. “QlikViewServer_x64Setup” and select Run as administrator
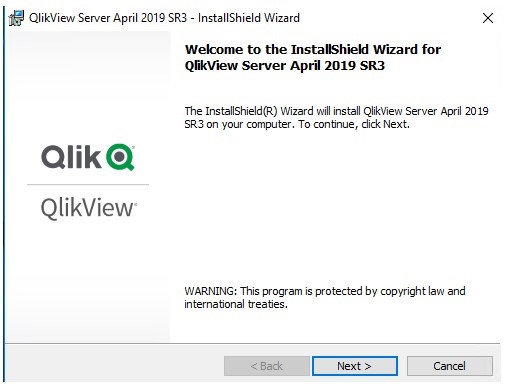
Enter the user name and company details
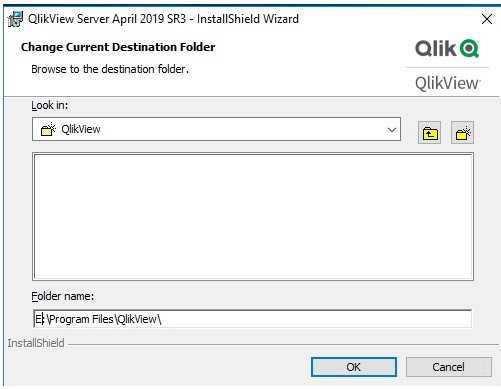
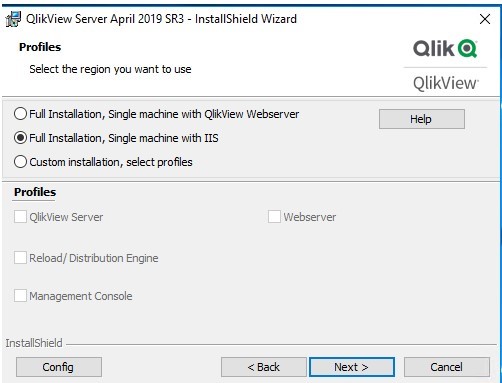
Select Full Installation with IIS
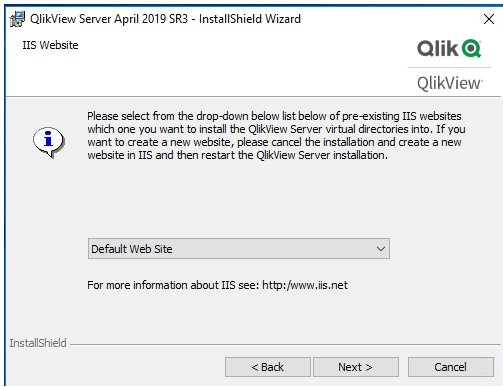
Choose default Web Site
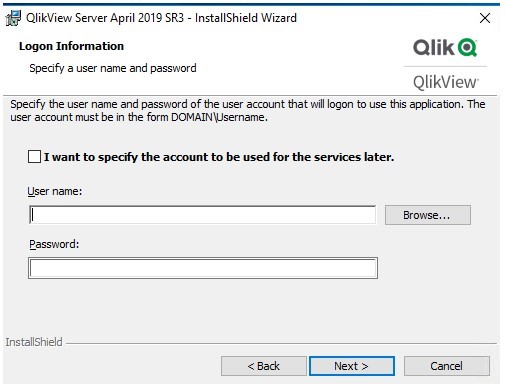
Enter the user which you want to use as service account with prefix as domain name
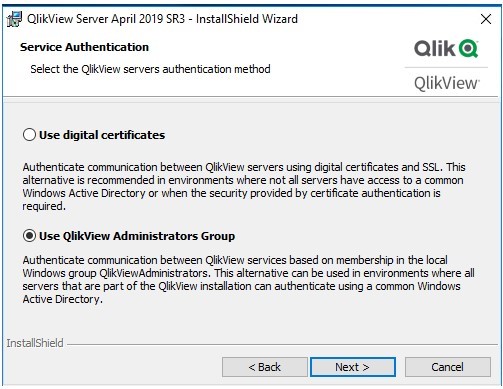
Choose QlikView Administrator Group
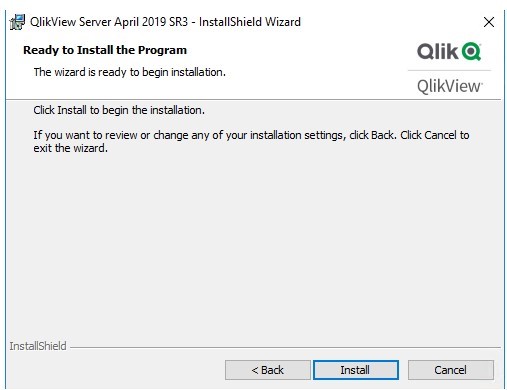
Click on Install
2c. Verifying the Upgrade
-
- Review the service account running the QlikView Services and start the Services.
- Open the Windows Services console, review what account they are set to “Log On” As and if this is correct.
- Start the services on all machines.
- Verify License information. a. Open the QlikView Management console and navigate to System > Licenses > QlikView Server QVS@servername and/or QlikView Publisher QMS@servername
- Check that license details are still complete.
- Verify QlikView Server settings.
- Open the QlikView Management console and navigate to System > Setup > QlikView Servers > QVS@servername > Folders
- Check that the Root Folder and Mounted Folders still point to the correct locations. This will verify that the QlikView Server settings.ini has been correctly reused.
- Verify AccessPoint availability and that documents open
- Navigate to the QlikView AccessPoint and open an existing QlikView document.
- If using Reload Engine/Publisher, verify a task runs and completes successfully.


